Sunday, October 26, 2008

Technique: Sponging Paper Edges

This week I decided to try using the Cermacoat paint with re-inker. I had created fellow consultant Antoinette Herrin's 50 card class using Aspen paper and also using Floral Tapestry. While I liked the easy of the workshop, I wasn't thrilled with the starkness of the white background. I did learn that the stamped image is also an important (besides the paper) for the cards to look great without a lot of fuss. Enter the technique of the week.

I added a lot of Outdoor Denim Re-inker to the Cermacoat paint. I didn't add enough to get the paint to get really dark. Then I started applying it with a sponge. After a few cards, I thought, "Why not try a paint brush?" I took out the fanned brush and added more strokes to the inside of the cards.

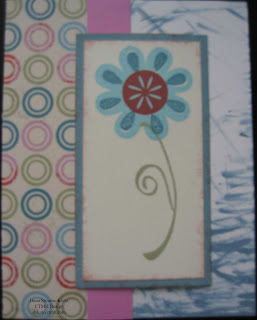
All in all, the technique was easy. I would go back and add a little more pizazz to the cards themselves. Here the paint was added to the edges and to the middle of the card.


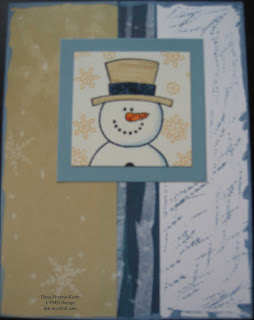
I added some paint brush strokes -- just the tips--to the white of this card. The stamp here is November's Stamp of the Month, All Decked Out. Markers of Bamboo and Outdoor Denim were used for the top hat.

Here I added more strokes from the paint brush.


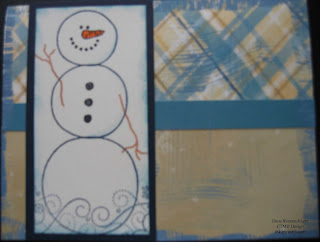
Just around the edges on this card.


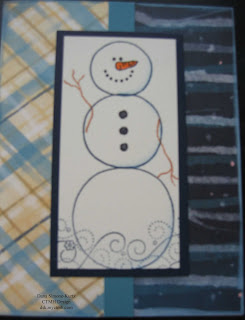
Lastly, I added some sponging to the white of this card. I added some more to the bottom right corner to add some interest. One thing for sure is that you can't really shade paint.

Monday, October 20, 2008

Magic Moments Layout


I've rotated the left page to accommodate a horizontal picture, and I've eliminated one strip. I didn't want my pictures to small enough to crop to 4"x3", so I cropped them all to be 4"x4". I've used Simple Pleasures Paper pack which utilizes Cocoa, Desert Sand, Bamboo, and Twilight colors. The fonts used were Extreme, Giggle, Tiny Typewriter, and Classmate. :)

Friday, October 17, 2008

creepy cobweb card

I know this doesn't fit this week's challenge, but this is my new workshop card and I was pretty pleased with it. I used the Creepy Cobweb Stamps, enchanted paper, black, sunflower, and autumn terracotta inks. I sponge blended Sunflower and autumn terracotta inks onto the diamensional flower then stamped the web image. For a 3-D effect I stamped the web image first directly onto the card then lined up the dimensional piece over top of it. When I stamped the spider with the web string I curved the stamp on the block, which is a technique I really wanted to show my customers.

Saturday, October 11, 2008

October SOTM with Magic Moments Paper

This was my SOTM Swap, along with using it for a gathering make and take. I used Magic Moments Paper, Colonial White CS, Z2130 Indian Corn Blue Ink, and gold brads. I loved being able to show my customers that you can create the cards out of one sheet of B & T by using the reverse side, especially now that its designed too. You can't tell maybe from the picture, but I only cut slits in the stamped image and used it like a ribbon slide.

Thursday, October 9, 2008

Pansy Purple, Sunflower, Black Color Challenge


This is our 3rd annual Halloween block party's invitation. The Enchanted Paper makes this come together in a snap. The stamp sets are Hallow-Scream (words) and retiring Happy Haunting.
The ink is Pansy Purple for the words and Black for the spider and web. I used a black pen to attach the spider to the web.
Finished card size is 4"x4".

Annotations -- October SOTM


I made this Pocket Greeting Tag (tm) 8"x3.5" card without the fold. I figure the person would write the note on the pull-out tag!
I thought I was being original by cutting the top off the tag stamp. However, when I later looked at the samples in the back of the book, I found that I wasn't original. Oh, well.

The paper was Magic Moments (I love this paper!) and Chocolate Textured CS, with a little Sunflower CS. The inks are Hollyhock, Chocolate, Sunflower, and Indian Corn Blue.

The "thank you" frame is 3-D set upon Sunflower CS corner rounded to. I put B&T behind and threaded basic floss through the button on the tag. I used a hollow concho for the hole up above. And finally, a pewter photo clip holds hollyhock twill ribbon. :)

Friday, October 3, 2008

October Stamp of the Month


I will be honest.... when I first saw this stamp of the month, I wasn't all that excited about it. Thankfully I'm in a monthly swap and I had to pull it out and work with it and now I absolutely love it!!

You can't tell in the picture, but I used the dotted line stamp to create a background on the hollyhock band.

The frame in I used would be perfect for a Christmas ornament!! It is symmetrical so you can stamp two and glue them back to back. Add a cute photo and you are done!!!

This is definately a must have set. I have another card I made, but apparently it missed the photo session. I'll try to post it this weekend.

Enjoy!
Dawn

Catching Up...

Ooops, busy month! Still getting used to bike commuting. I'm loving it, but it takes longer and then I'm wiped out at night and I keep forgetting to take pictures so now I'm catching up on all the challenges for September...and hopefully I'll get back on track for October...
For those of you who purchased the September SOTM, here's another sample for you.

Color challenge: We used the new colors this month. I say we, but technically I did nothing...hahaha... But in the interest of fulfilling my obligation to the design team I did beg my good friend Candace to allow me to post her cards. I loaned her my stamp pads for a workshop and she made me copies of the cards they did. AND they were the same colors as the color challenge. How cool is that?


I did the layout challenge, but I took pictures with my phone and they didn't come out so hot. I think my camera is on it's last legs so hopefully I can get this figured out...

Stay tuned. I have my October SOTM to post in a minute!
Dawn